


Make gel nails yourself - in 7 steps
Gel nails are a wonderful way to have neat and shiny nails that last a long time. But if you don't have the time or desire to go to a nail salon, you can easily make gel nails yourself. Here are the steps you should follow to do gel nails yourself:
Step 1: Preparation
First you need to prepare your nails. This means you have to clean them up, file them into shape, and push back your cuticles. You should also make sure your nails are free of nail polish or old gel.
Step 2: Apply primer
Next you should have one First Instruct. The primer will help the gel adhere better to your nails and prevent it from peeling. Apply the primer thinly and let it dry.
Step 3: Apply Base Bond
Now it's time for that Base Bond. This serves as the base for the gel and ensures that it can be applied smoothly and evenly to your nails. Apply the base bond thinly and harden it under the UV or LED lamp out of.
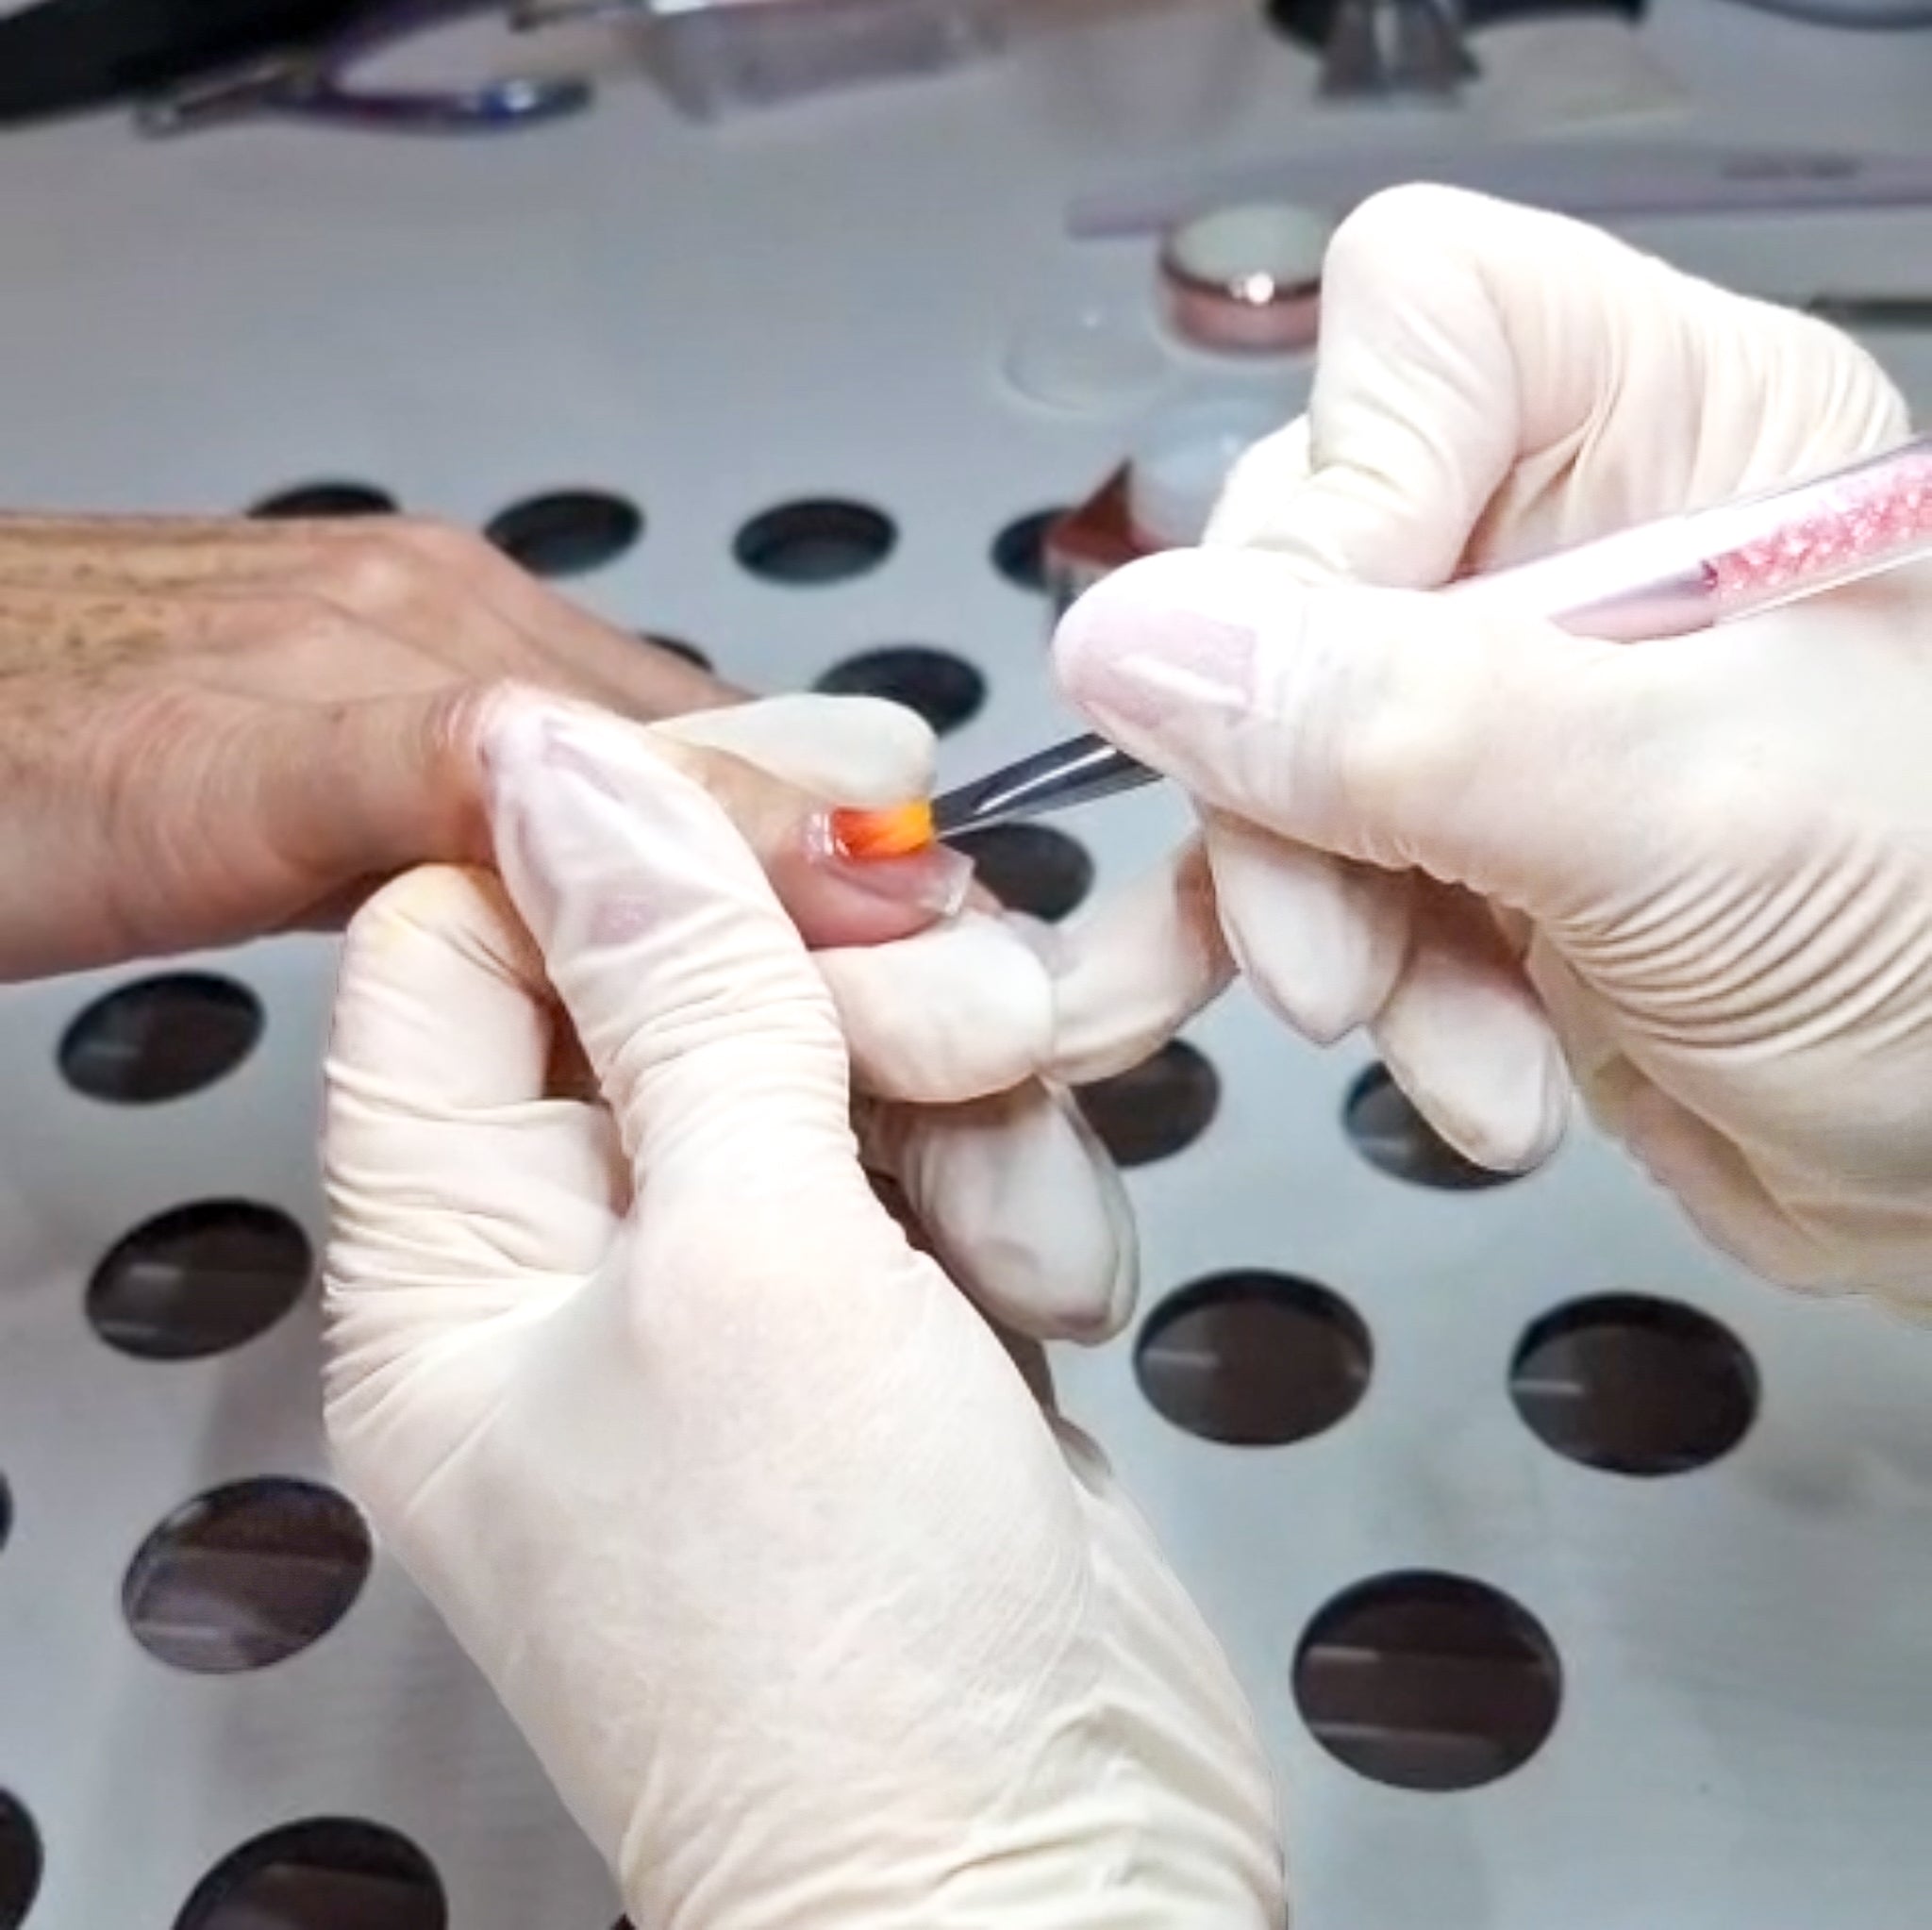
Step 4: Apply gel
Now comes the real thing Gel. Apply a thin layer and make sure it's evenly distributed. Then harden it under the UV or LED lamp out of. Repeat this step until you reach the desired thickness.
Step 5: File and Shape
Once the gel has hardened, you can file and polish it into shape. Make sure you file it evenly to achieve a perfect shape. The right ones The mistake can be found in our shop.
Step 6: Apply top coat - sealing gel
The Top Coat - Version gelungsgel ensures that your gel nails last longer and shine. Apply it thinly and cure it under the UV or LED lamp off.
Step 7: Clean and maintain
Finally, you should thoroughly clean and care for your nails. Remove any gel residue and wear nail oil up to take care of your cuticles and nails.
Conclusion
Doing gel nails yourself is a great way to save money and still have beautiful nails. With a little practice and the right tools, you can make beautiful gel nails yourself in no time. Try it and you will be amazed!


![Gelnägel vs. Shellac: Was ist der Unterschied? [Kompletter Vergleich 2026]](http://nailino.ch/cdn/shop/articles/24b2b09efa05d391c6c68f7a4e13774d.png?crop=region&crop_height=701&crop_left=0&crop_top=65&crop_width=1248&v=1769109331&width=1248)