


No Flow Flex Gel: The ultimate guide to long-lasting, strong and flawless nails
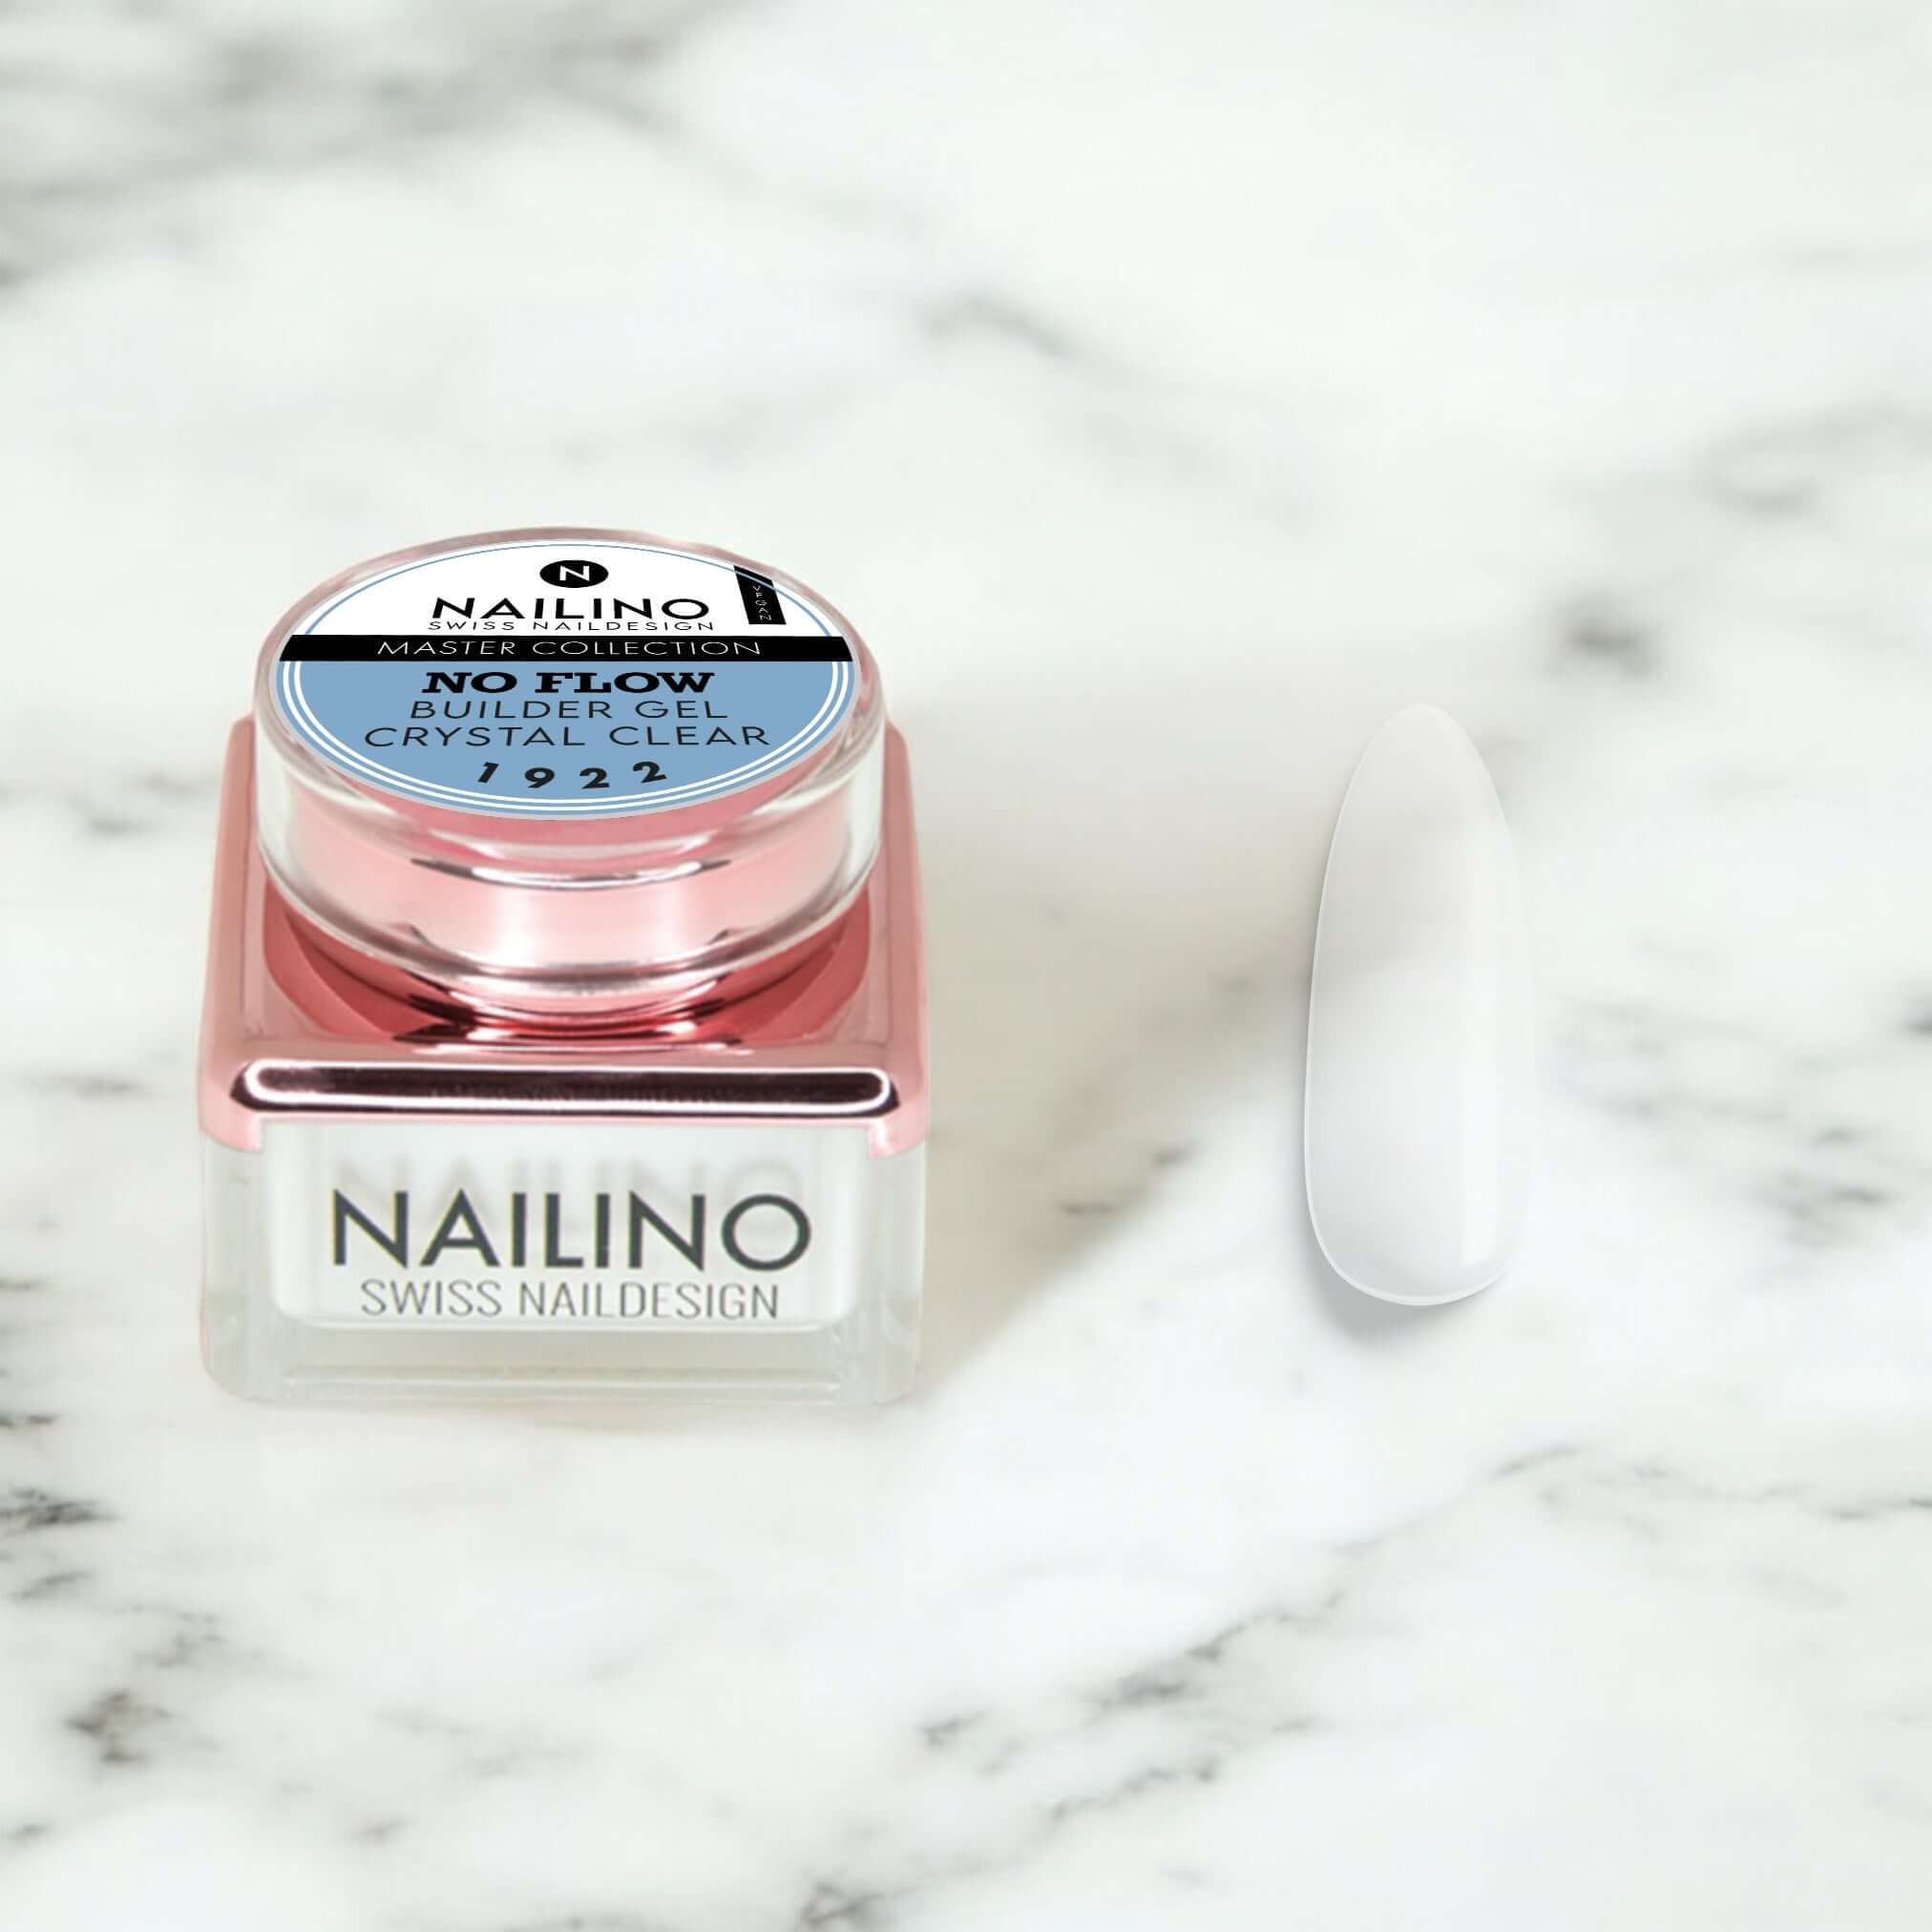
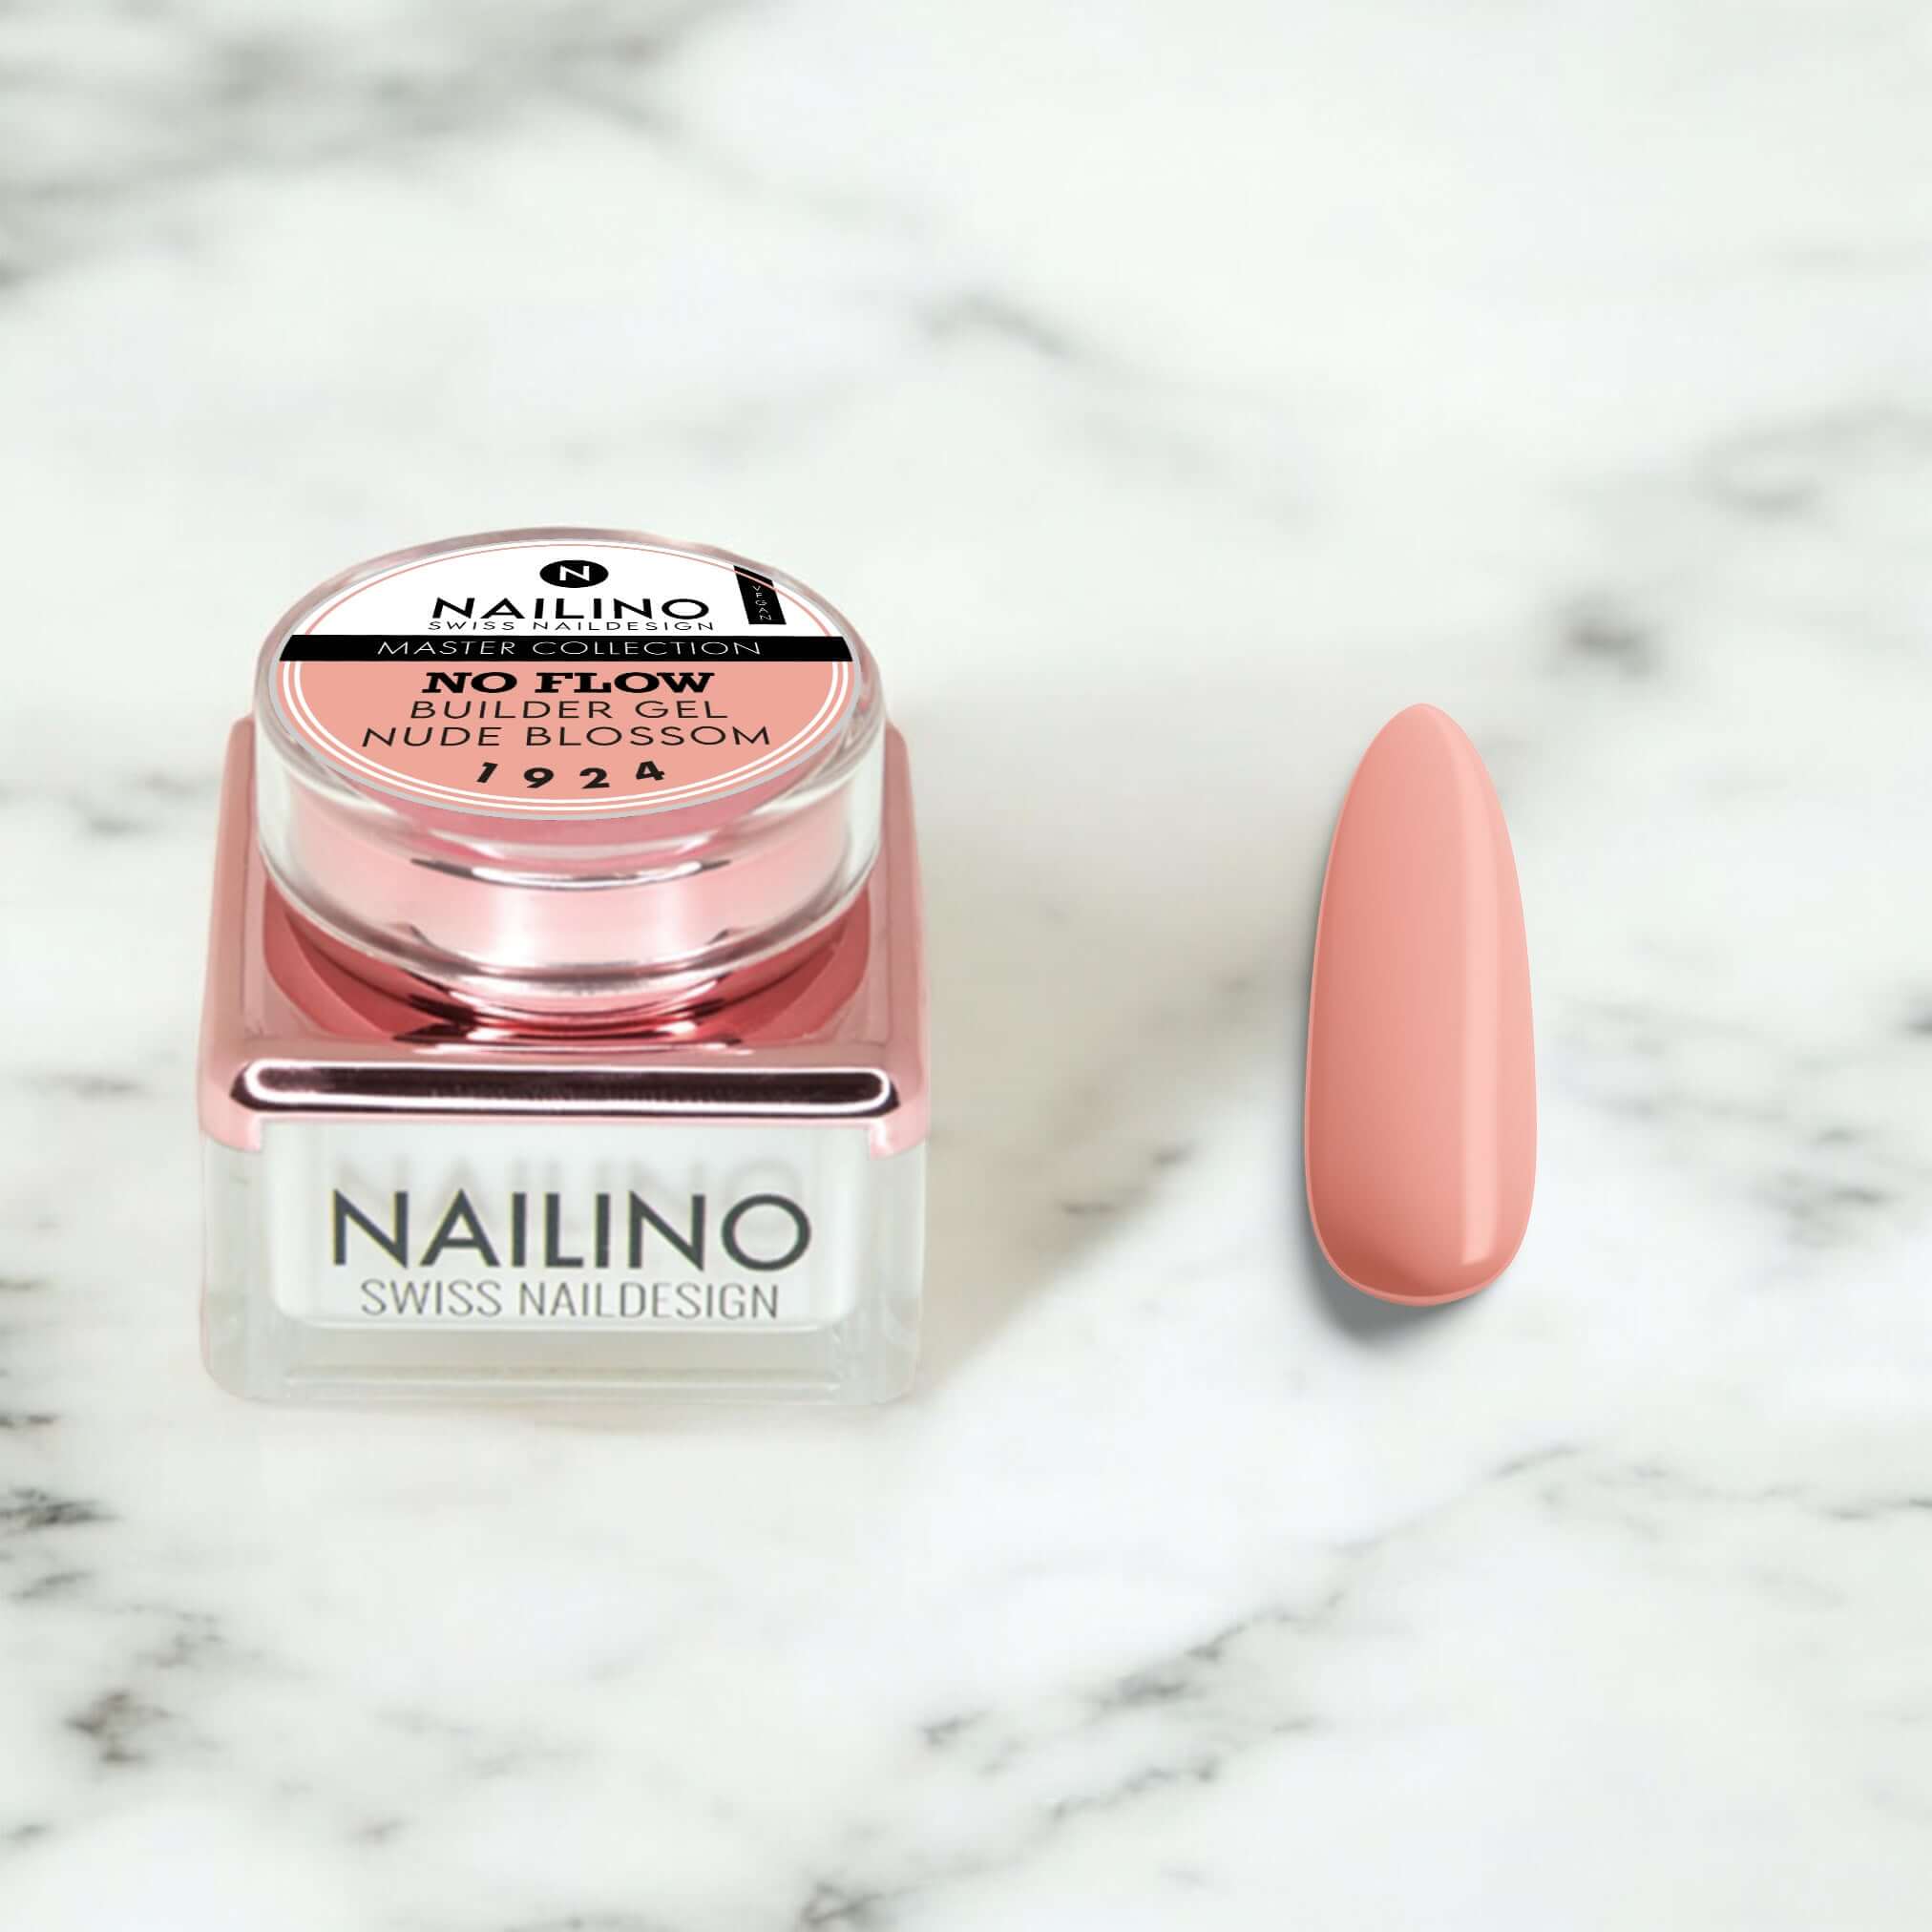
1. What is No Flow Flex Gel?
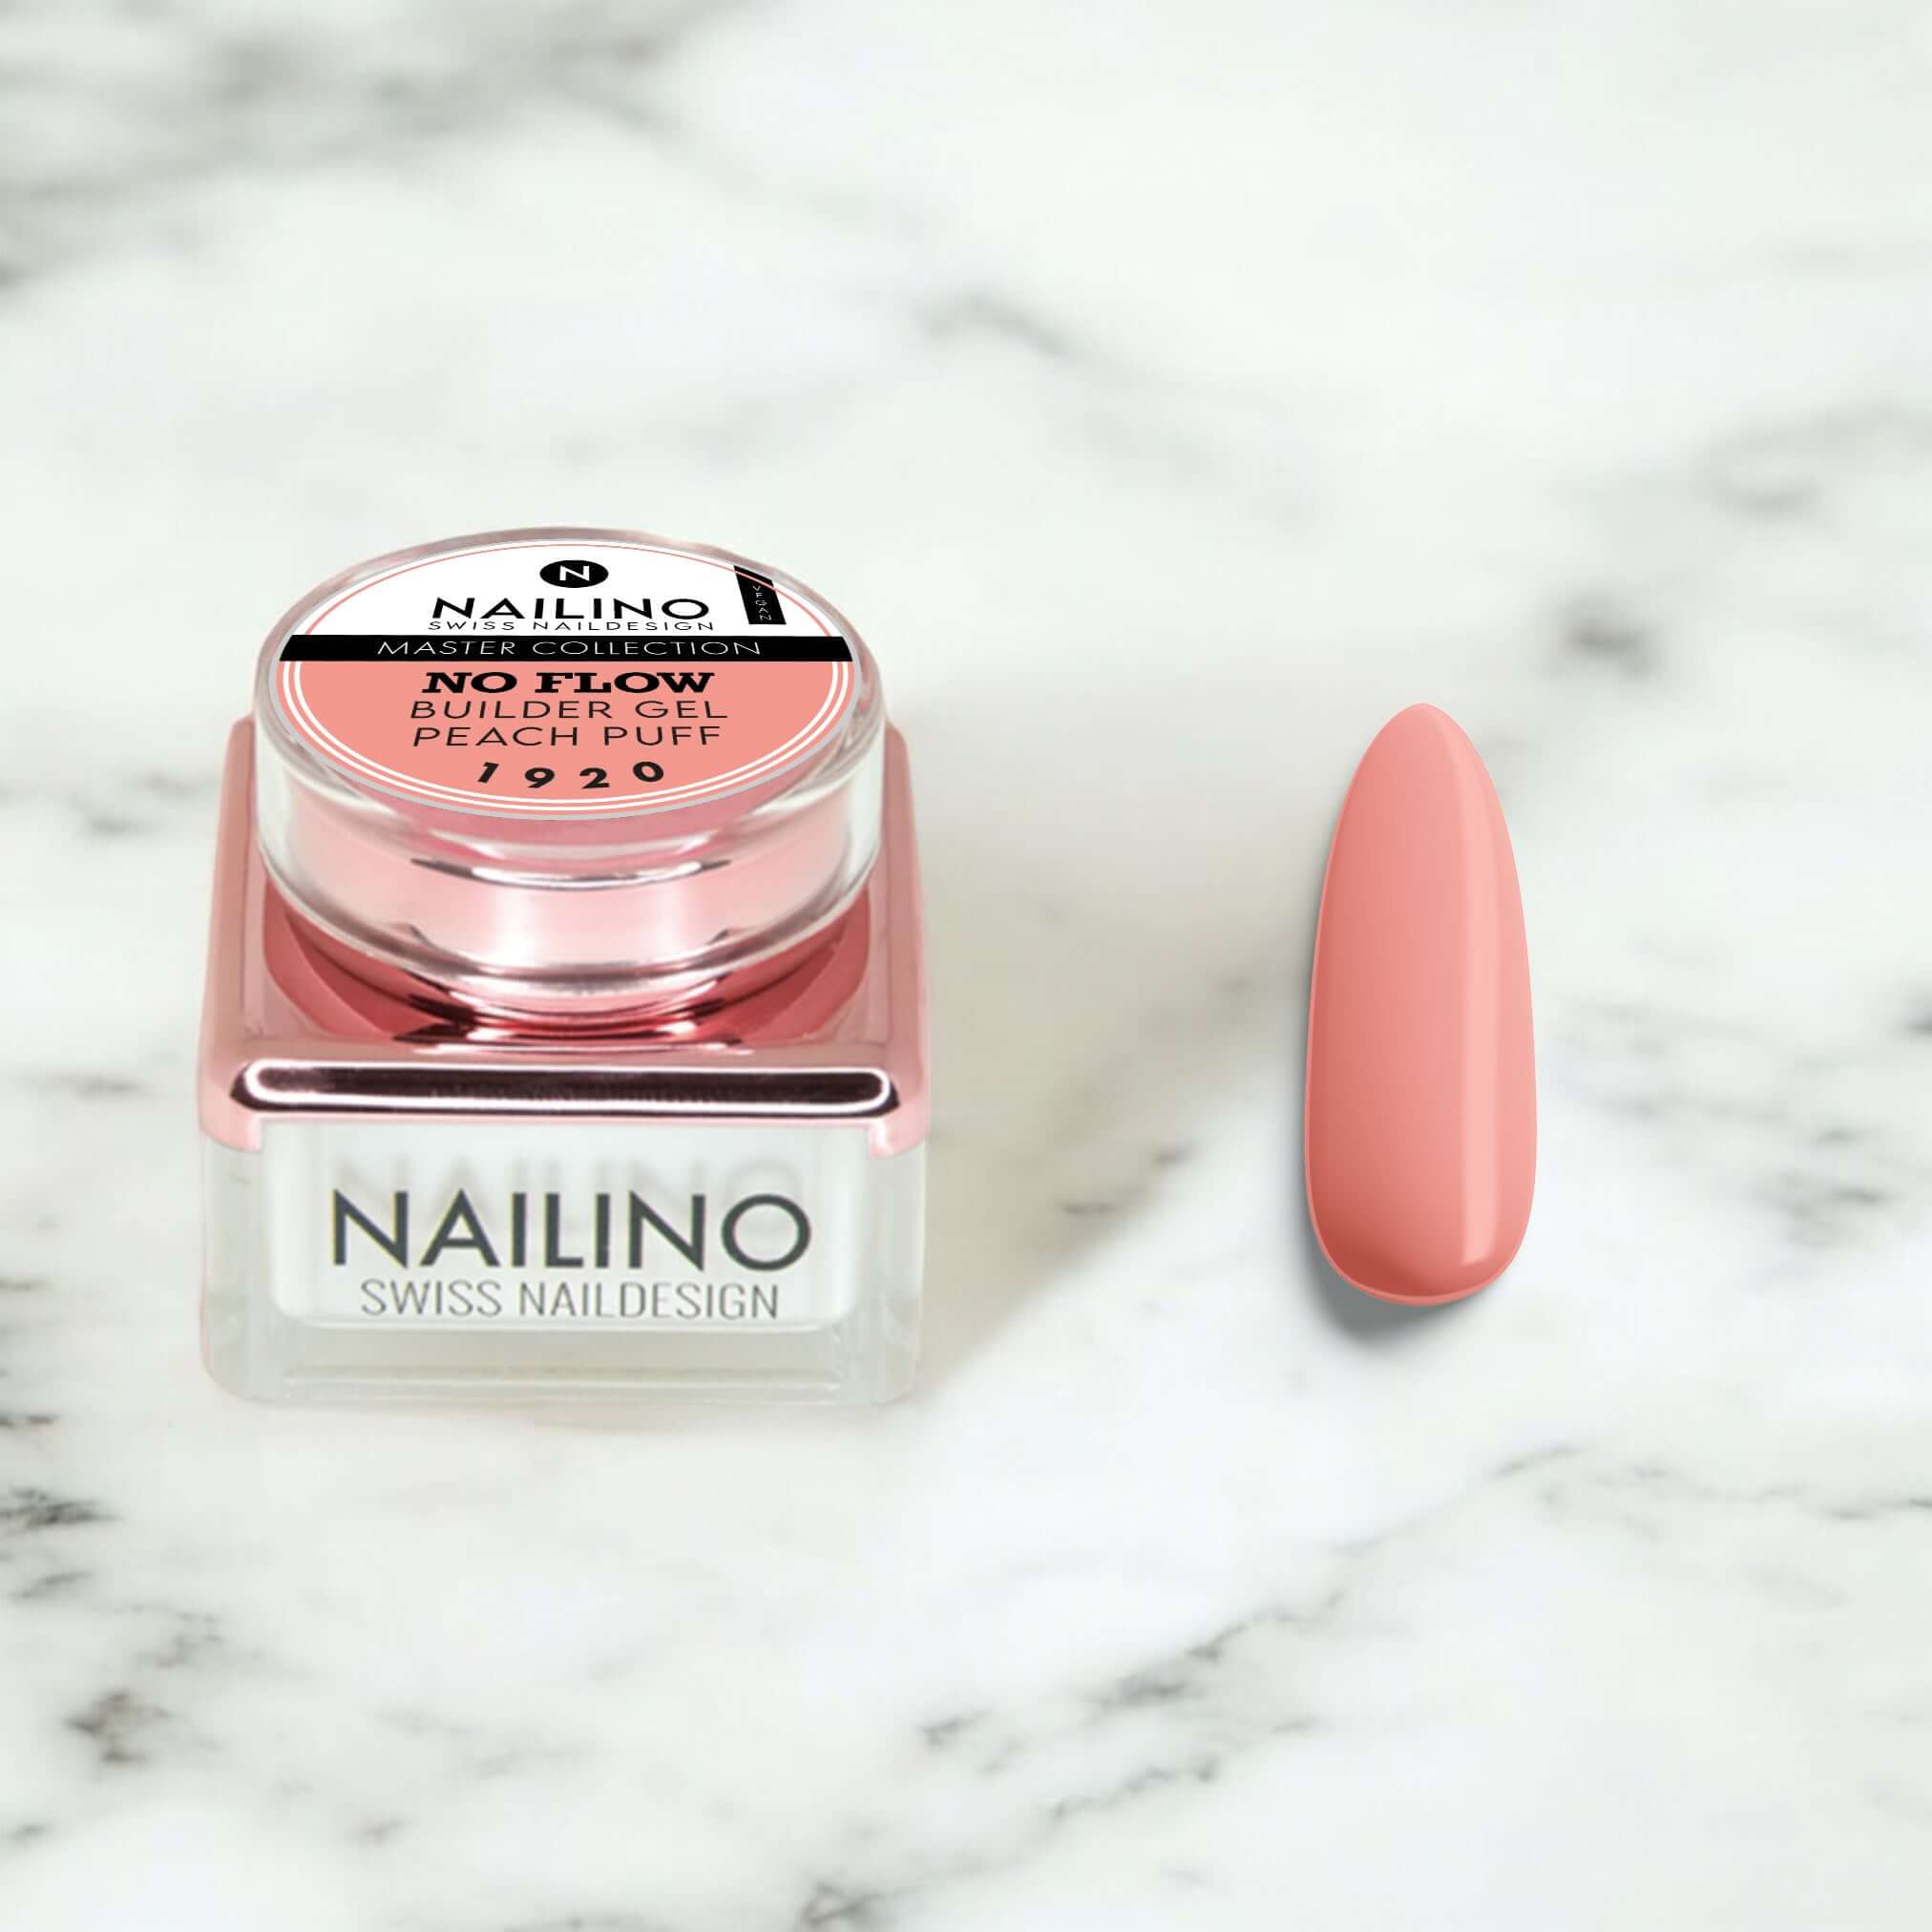
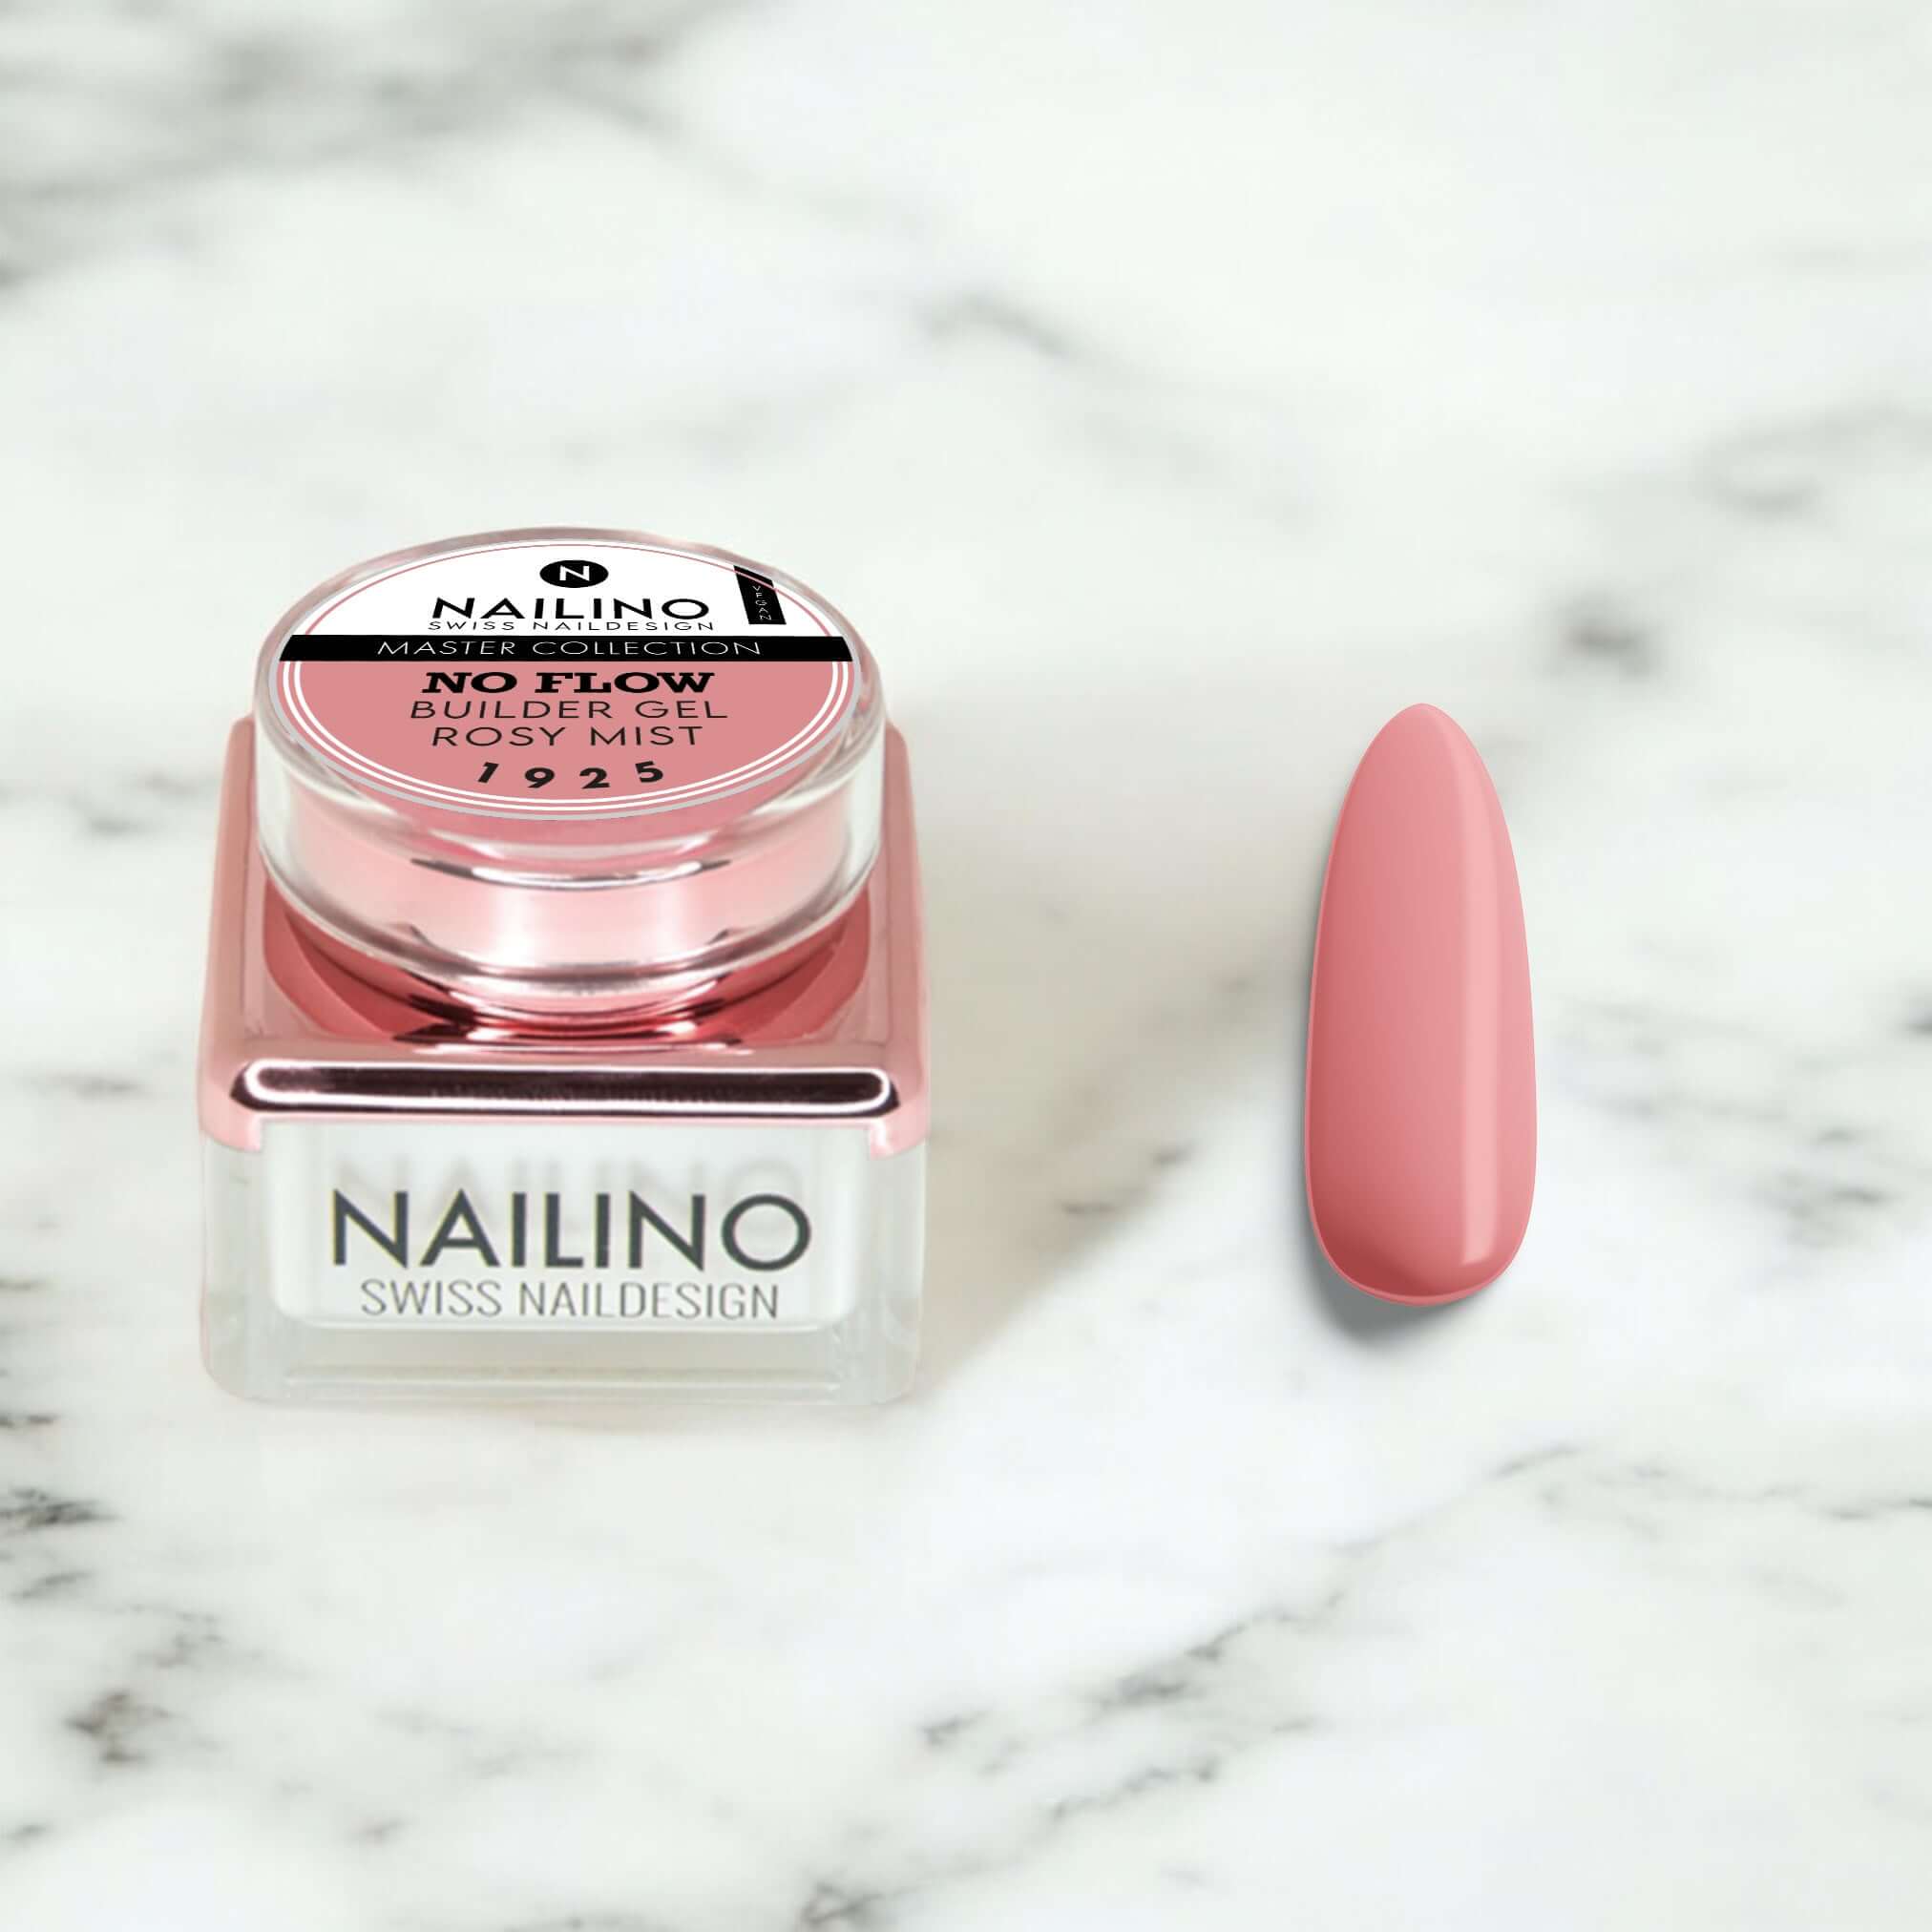
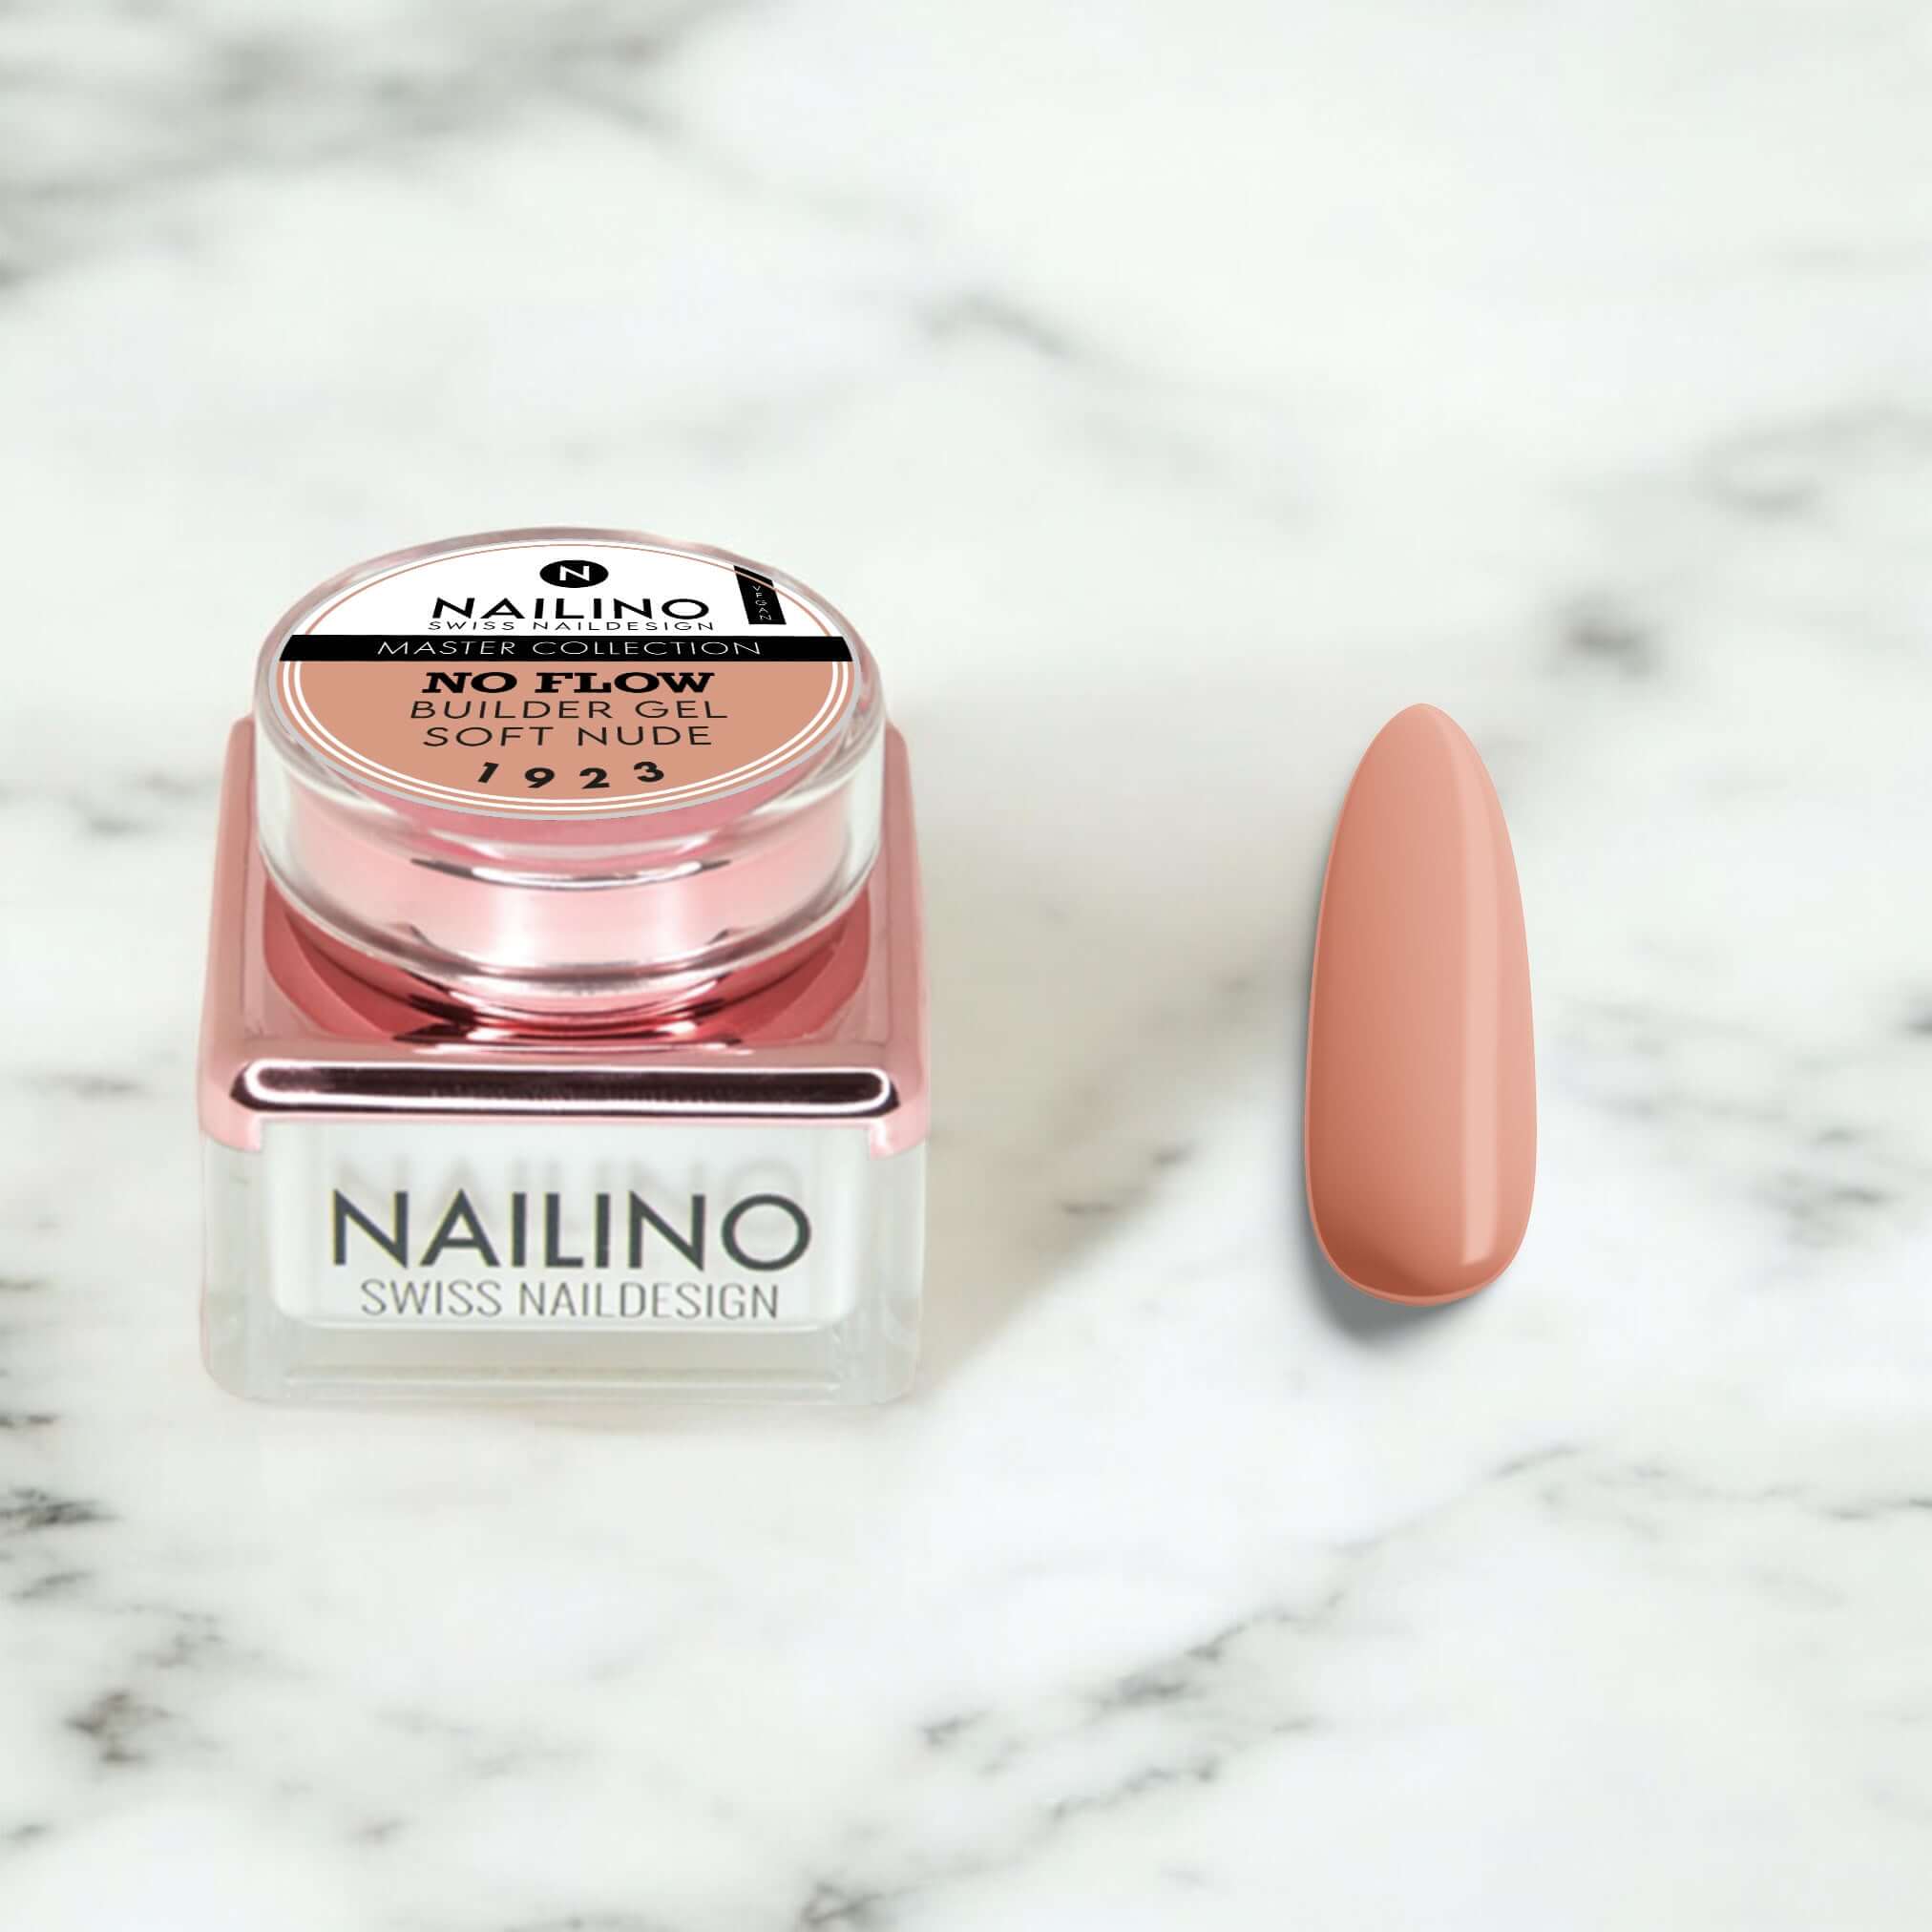
No Flow Flex Gel is an innovative nail gel whose special consistency prevents it from running. It stays exactly where you apply it – without unsightly drips. At the same time, it allows for a flexible yet strong enhancement of the natural nail. This makes the gel perfect for anyone who values a professional and long-lasting manicure without having to spend hours in a nail salon.
Key features:
• Self-leveling : The gel smooths itself out and allows for easy application.
• Flexible & robust : Protects your nails from chipping without feeling stiff.
• No getting lost : Ideal for beginners or fast work in the studio.
2. Advantages of No Flow Flex Gel
1. Easy to use : Thanks to its special formulation, the gel does not run and is therefore particularly beginner-friendly.
2. Time saving : Less filing and corrections are needed, as the gel does not run into the nail edges.
3. High durability : Thanks to its robust yet elastic composition, the gel withstands everyday stresses for longer.
4. Versatility : Perfectly suited for natural nail reinforcement, light extensions or refills.
3. Application steps
You can easily integrate No Flow Flex Gel into your usual nail routine. Here's a step-by-step guide:
1. Preparation
• File natural nails into shape and push back cuticles.
• Remove dust and excess grease (e.g. with a cleaner).
• Apply a thin layer of base coat or bonding gel and cure.
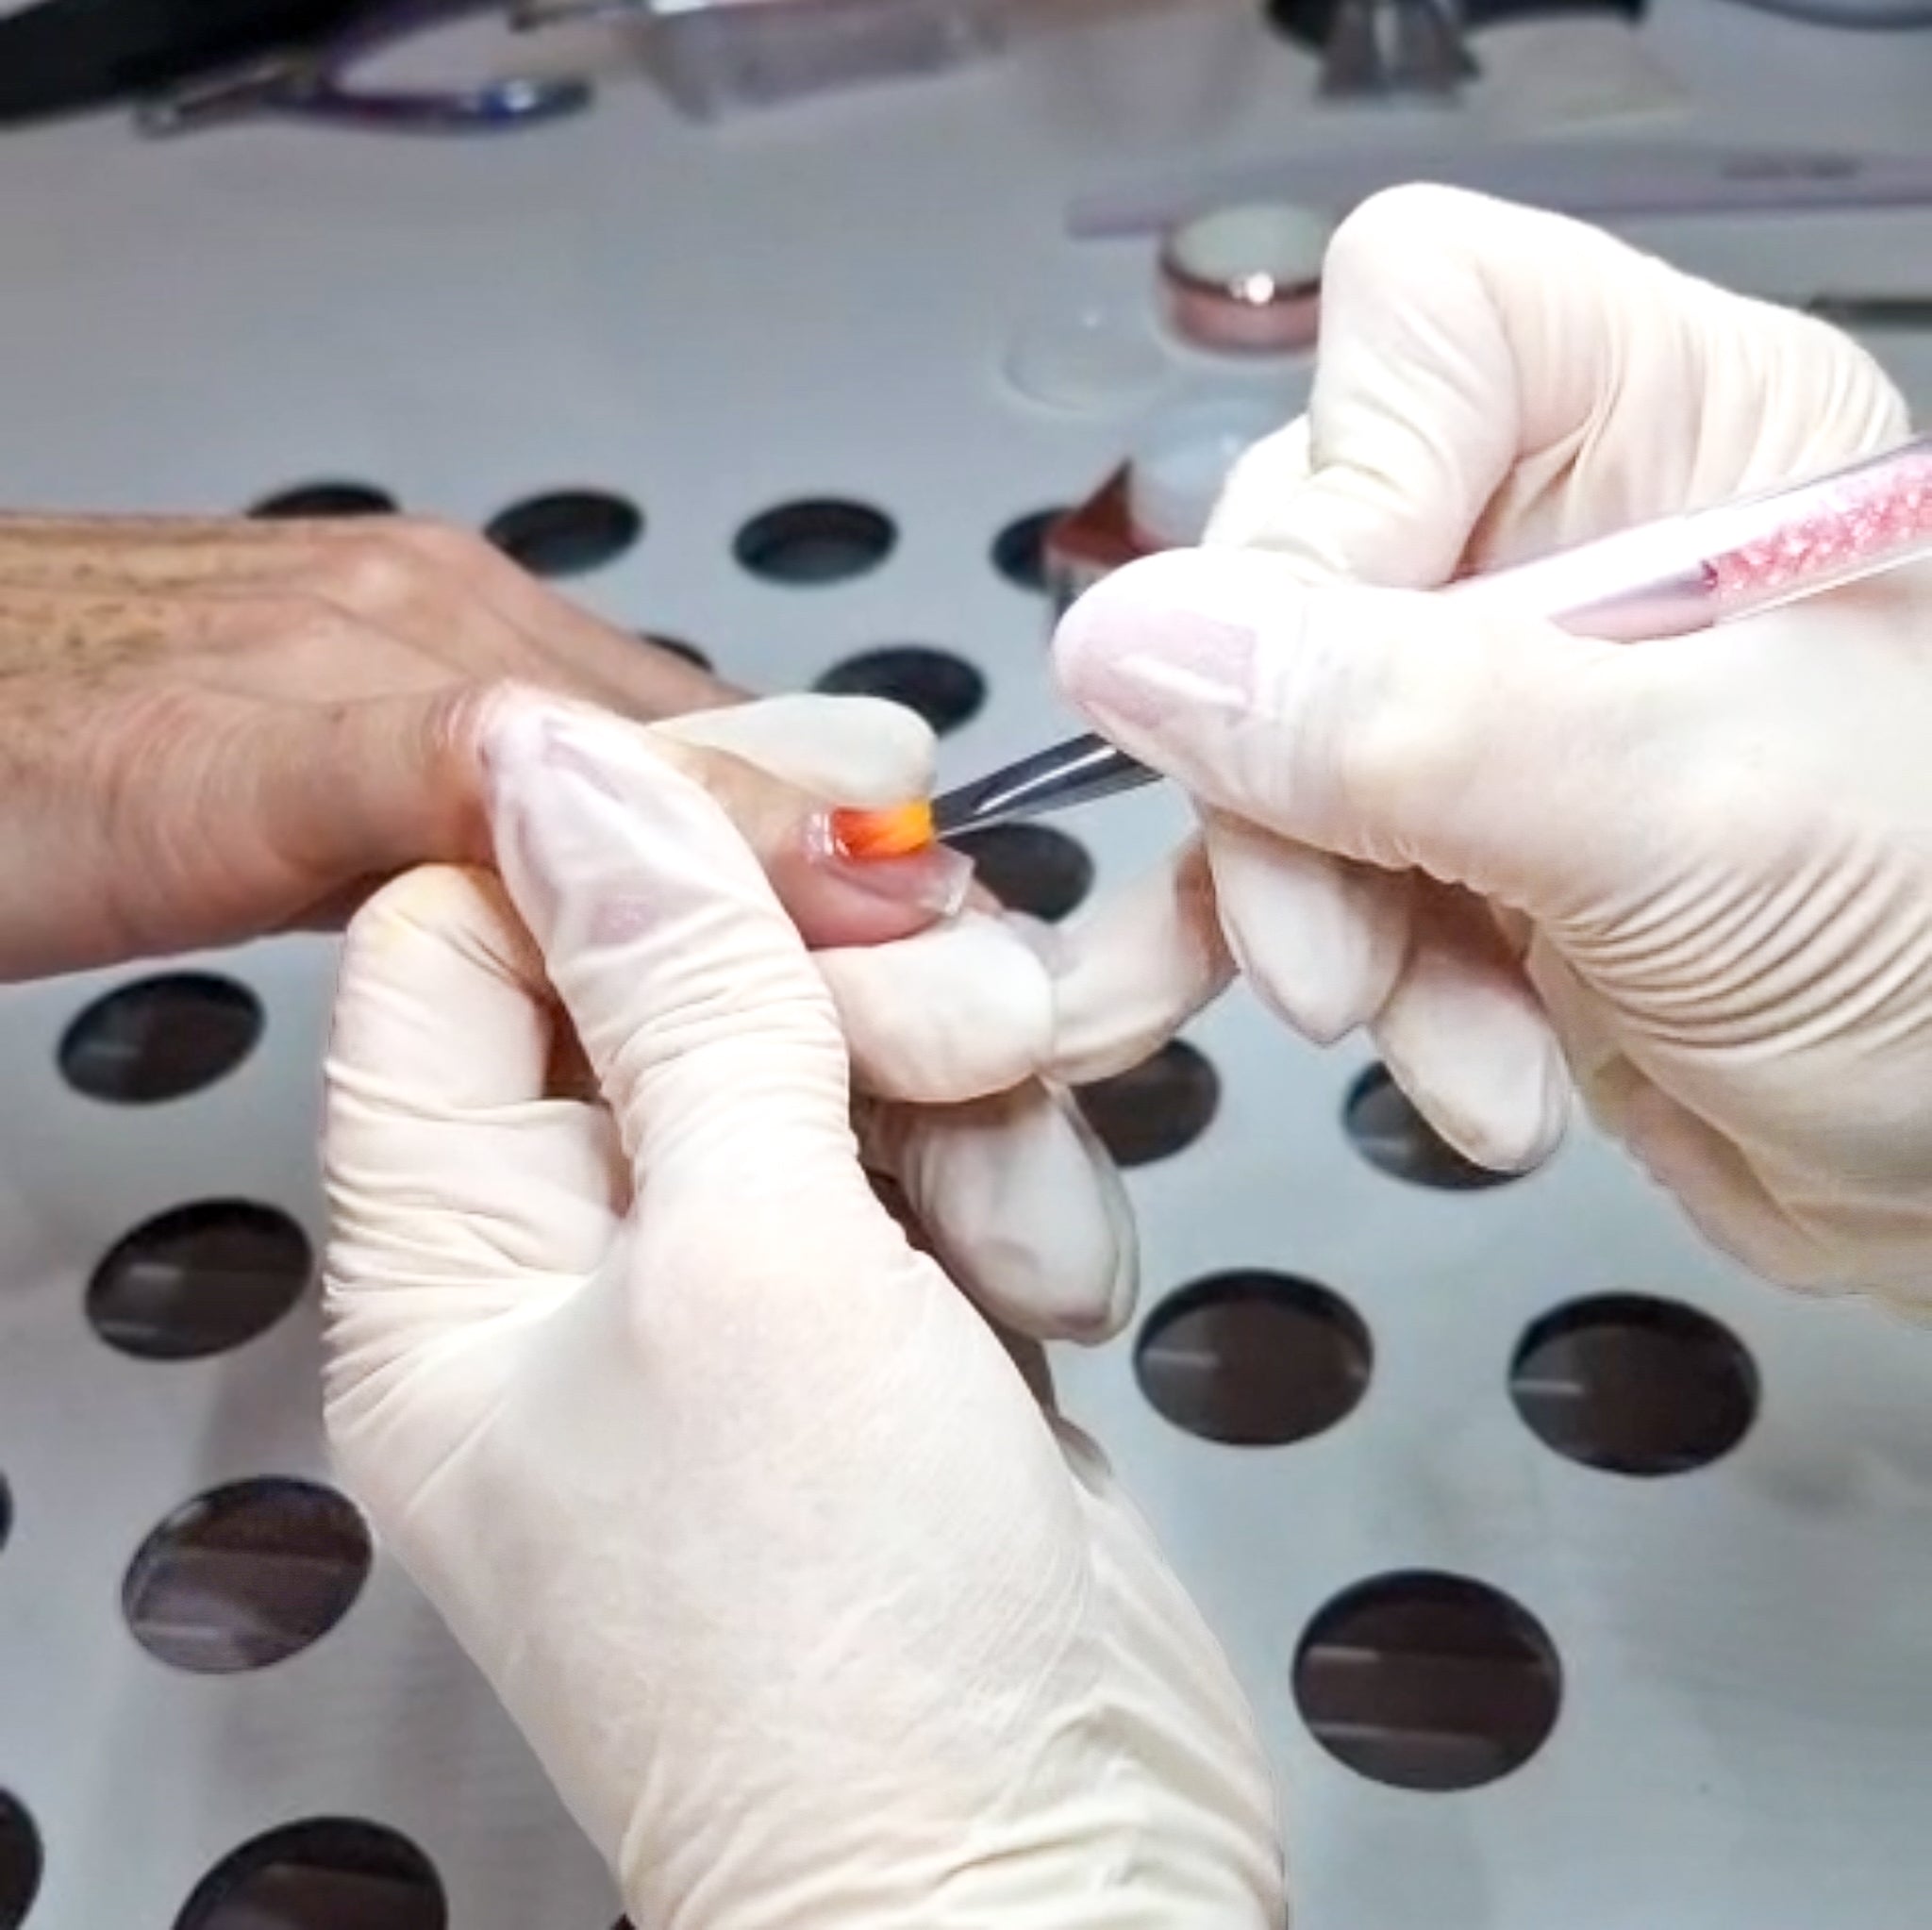
2. Build-up with No Flow Flex Gel
• Apply a thin "contact layer" of No Flow Flex Gel to the nail and spread it evenly.
• Without hardening again, you directly build up the desired shape with a second, slightly thicker amount of gel.
• Since the gel doesn't run, you can take your time to smooth out any unevenness.
• Cure under UV or LED lamp according to manufacturer's instructions: UV 120 seconds and LED 90 seconds.
3. Filing and finishing
• After it has hardened, remove the sticky layer (if present).
• Correct the shape with a file if necessary.
• Finally, apply a sealing gel or top coat and cure it.
• A nourishing cuticle cream perfectly completes the result.
4. Tips & Tricks
• Working pace : Even if the gel does not run, it is recommended to work quickly to avoid dust accumulation during the "open" time.
• Perfect shine : Pay attention to a high-quality sealant so that the nail enhancement retains its shine for a long time.
• Thin layers : Several thin layers are often easier to control than one thick layer.
• Practice makes perfect : Especially for beginners, it helps to practice on tips or practice hands to get a feel for the perfect amount of gel.


![Gelnägel vs. Shellac: Was ist der Unterschied? [Kompletter Vergleich 2026]](http://nailino.ch/cdn/shop/articles/24b2b09efa05d391c6c68f7a4e13774d.png?crop=region&crop_height=701&crop_left=0&crop_top=65&crop_width=1248&v=1769109331&width=1248)