


French Nails or French nails have been a classic nail look for many years that never goes out of style. The look consists of a base in natural or rose tones and a white tip. Over the years, however, the look has evolved and there are now numerous variants of French nails. In this blog post, we take a look at the different ways you can create French nails and give tips on how to care for them.
- The classic French look
The classic French look consists of a base in natural or rose tones and a white tip. It is important that the transitions between base and tip are as smooth as possible. A thin white line on the tip of the nail is sufficient to create the look. For the perfect French look, the nails should also be well cared for and the cuticles pushed back cleanly.
- That modern French Look
The modern French look is a variant of the classic look and is characterized by its creative accents. Different colors and shapes can be used to customize the look. For example, you can use a colored or glittery tip instead of a white tip, or you can replace the white line with a different shape, such as a crescent moon. Playing with different nail lengths and shapes is also possible with this variant.
- The reverse French look
The reverse French look is a special twist on the classic look, where the base color and the nail tip are reversed. The nail tip is painted in natural or rose tones and the base color in white. This look is extra eye-catching and works well for special occasions or trying out new looks.
- The colored French look
The colored French look is a modern variant of the French look, in which a colored tip is used instead of the white tip. There are no limits to creativity and you can choose the colors individually and combine them with each other. Popular color combinations include rose and gold or blue and silver.
Care tips for French nails:
In order to keep French nails long-lasting and beautiful, there are a few care tips to follow. Here are some of them:
- Always use a base coat to protect nails from discoloration.
- Apply the varnish in thin layers to prevent quick chipping.
- Avoid contact with aggressive substances such as cleaning agents.
- Use regularly nail oilto care for the cuticles and nails.
- If necessary, apply a protective layer over the paintwork to protect it from damage.
Conclusion:
French nails are a timeless look that is always on trend. Due to the different variants that are now available, it is possible to customize the look.
How to do french nails with gel
French nails have been a classic in the world of nail modeling for decades. The elegant look is timeless and suits every occasion. If you are wondering how to do french nails with gel, read on for the step-by-step guide.
Step 1: Preparation
Before you start modelling, you should thoroughly clean and disinfect your nails. File the nails into the desired shape and remove any cuticles.
Step 2: Primer
Wear a thin layer Base Coat onto the nail and cure it in the UV or LED lamp. The base coat forms a protective layer and prevents the gel from being applied directly to the nail.
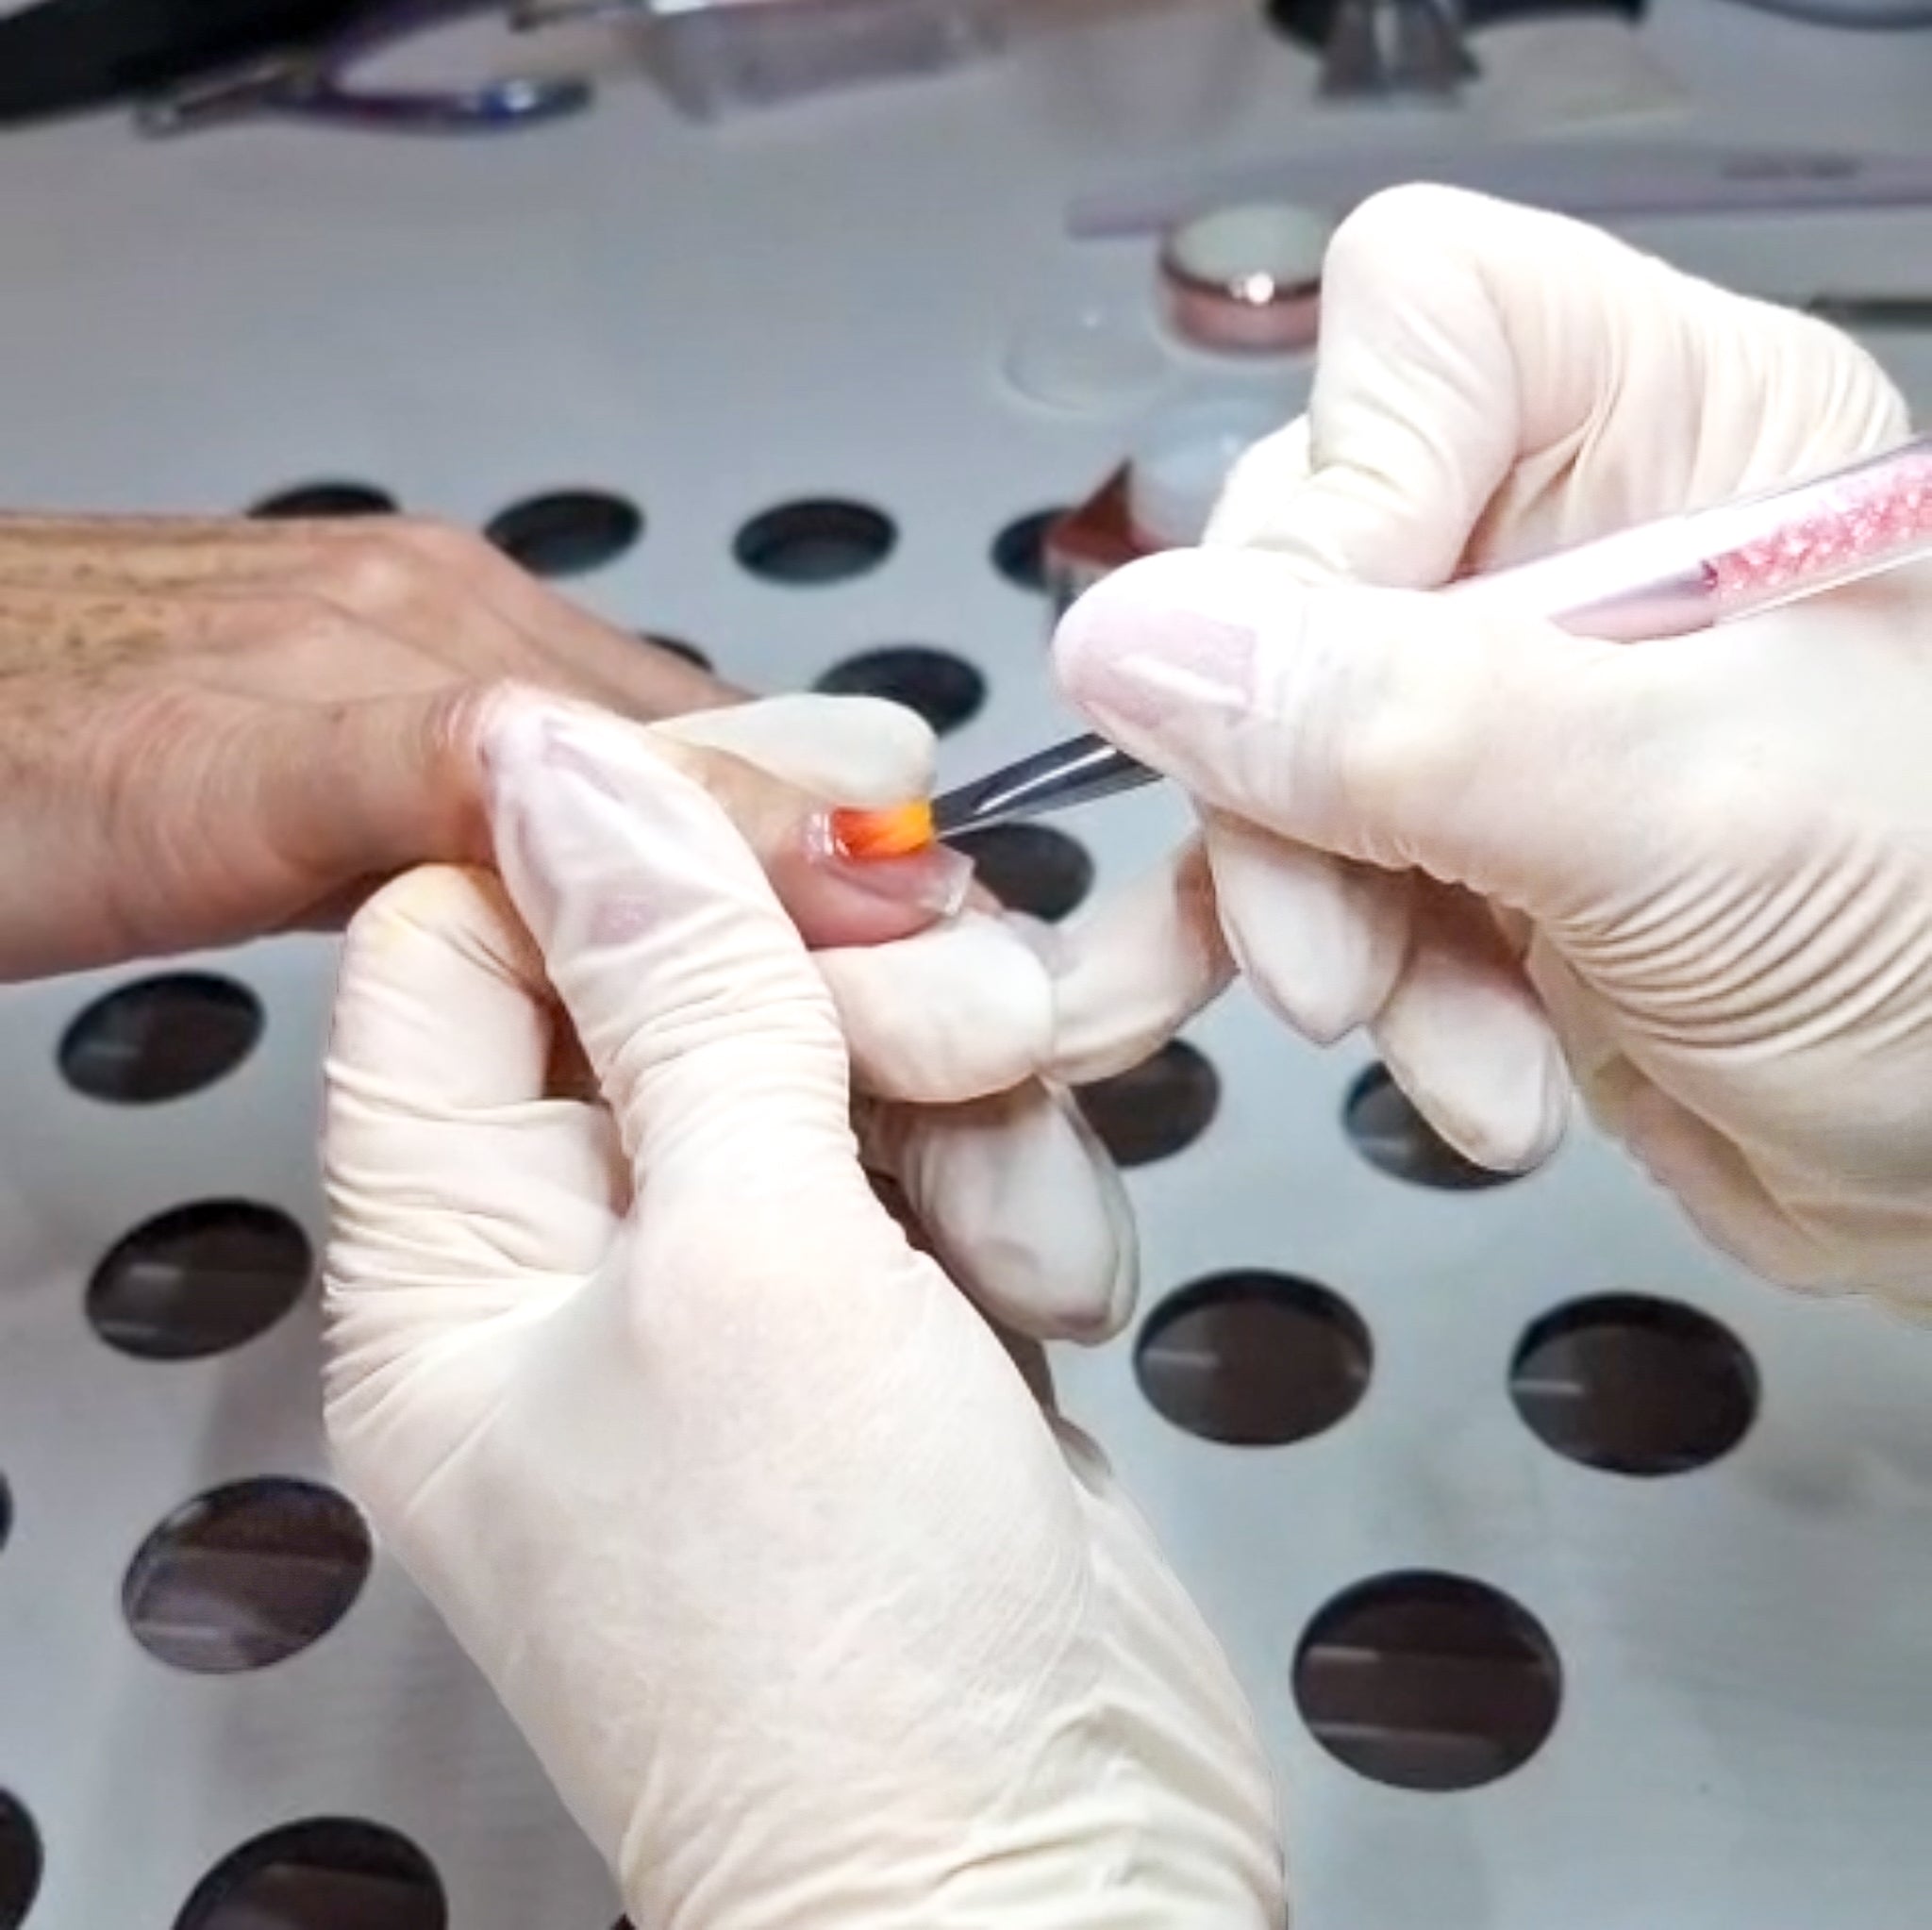
Step 3: Apply the white gel
wear the white French Gel on the tip of the nail. Make sure the line is straight and clean. Avoid applying the gel to the skin. Harden the gel under the UV or LED lamp out of.
Step 4: Applying the clear gel
Wear a thin layer Come Clare on the entire nail, including the nail tip. Harden the gel under the UV or LED lamp out of. Repeat this step for a second layer to get a smooth finish.
Step 5: File and Polish
After the gel has hardened, you can file and polish the nail to achieve a perfect shape and smoothness.
Step 6: Finish
Wear a thin layer Top Coat to seal the modellage and achieve a shiny look. Cure the gel under the UV or LED lamp.
Those were the steps to do french nails with gel. With a little practice and patience, you can master this timeless look perfectly.


![Gelnägel vs. Shellac: Was ist der Unterschied? [Kompletter Vergleich 2026]](http://nailino.ch/cdn/shop/articles/24b2b09efa05d391c6c68f7a4e13774d.png?crop=region&crop_height=701&crop_left=0&crop_top=65&crop_width=1248&v=1769109331&width=1248)